In yesterdays, the only option to have two operating systems in a computer was to do a lot of partition jargons in the harddisk and install both operating systems (Windows and Linux mostly) side by side and use Lilo/Grup screen to go to the require OS when the computer starts up... Very tedious, very messy and you can run only one OS at a time.
Well times have changed and the term virtualization has cleared off all these problems above. Virtualbox creates a virtual hard drive(a file) and installs an operating system into this file. If you want to get rid of the virtualized (also known as the guest) operating system, just delete the virtual hard disk file from the real (host) computer’s hard drive and the entire OS is gone.
One of the biggest advantages I have seen with virtualbox is to try out new operating systems without actually buying it or worrying about it crashing. Most people try out operating systems by downloading pirated versions from the Internet. But installing the OS in your computer is a bit of a worry with the anti-piracy squads and messages around . So what do we do... Suppose you are using "Windows 7" and you want to try out "WinXP". Just use virtalbox to install "WinXP". Now you can run "WinXP" in a separate window from "Windows 7". After trying out, if you feel like removing WinXP, just delete the virtual hard-disk created and every thing related to "WinXP" is gone from your machine.
Now let's see how you do this...In the following, I will be I will be installing Windows XP using Virtualbox.
1 – Download the VirtualBox setup from the VirtualBox site. Note that you need to download setup for the operating system you have currently.
2 – Install VirtualBox and run it.
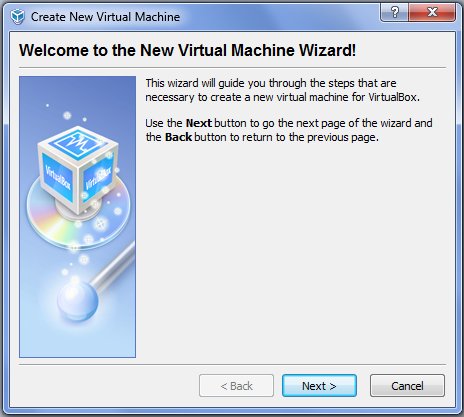
3 – On the VirtualBox main page, click on the ‘New’ icon. You will be brought to the New Virtual Machine Wizard.
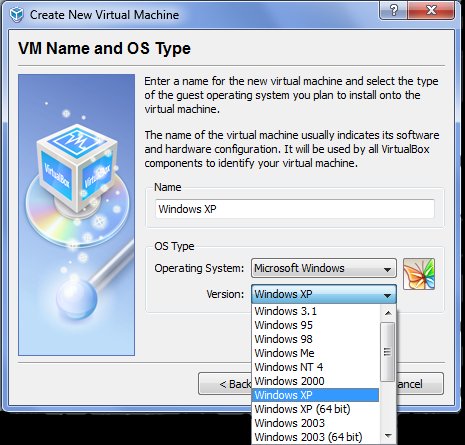
4 – Enter a name, and select the operating system of Microsoft Windows and Windows XP (standard selection is 32-bit). This merely suggests RAM and other minimum requirements. You do not need to select this, but it is easy to do so.
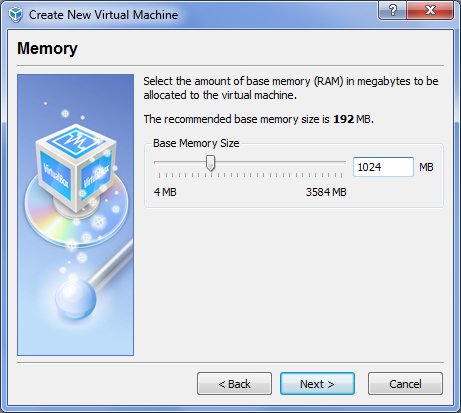
5 – Select your Base Memory Size. This will be the amount of RAM that will be dedicated to the virtual machine while you have it running. Select a reasonable value depending on the actual RAM you have on your machine. E.g. If you have 2GB RAM, you could give say 1GB for the new virtual machine.
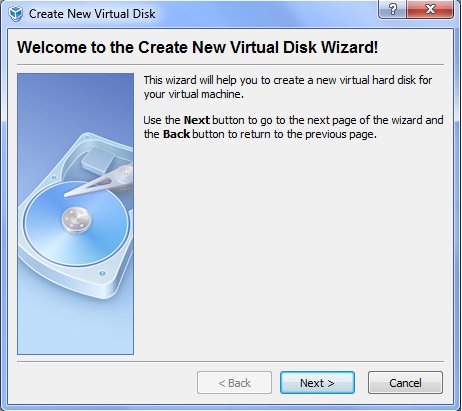
6 – At this point, you will need to either create a new Virtual Disk, or use a pre existing one. Since I wish to install Windows XP, I chose to create a new disk.
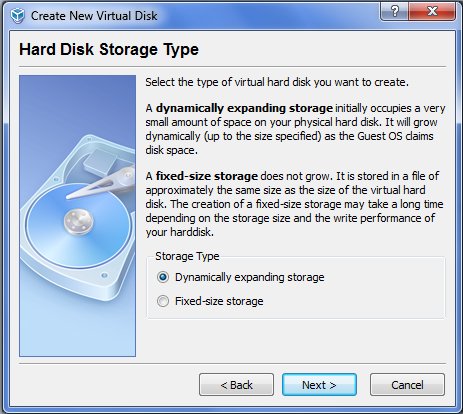
7 – You can choose either a Dynamically Expanding disk, or a Fixed-Size disk. A fixed-size image will dedicate whatever size of the disk you choose to the virtual machine. It will create a .vhd file that is always the size you specified. A Dynamically Expanding image will not dedicate the space before hand, and will allow the image/file size to expand physically on your hard drive as you add more items to your virtual machine. I normally choose this option due to me wanting to save physical hard drive space.
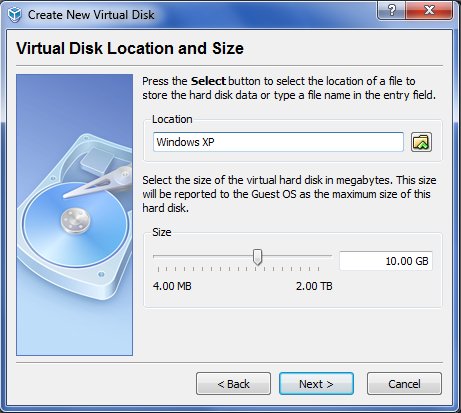
8 – Specify the name and location you wish to give your virtual hard drive (.vhd image) and also specify the size. By default, the virtual hard disk storage is some where in your C drive. Now if your C drive space is less and you have other drives having space, change the location appropriately. Also note that it is very difficult to increase the maximum size of the virtual hard-disk once it is created. So take care to select a reasonably good hard disk size at the start.
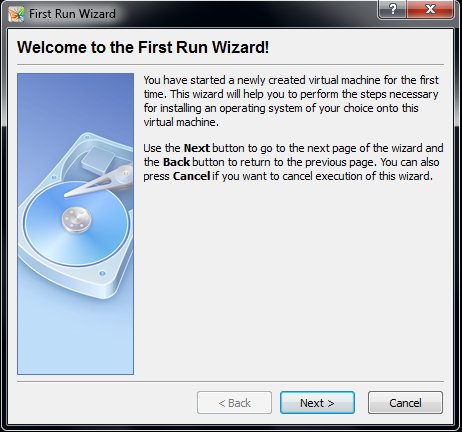
9 – That's it ... Now, you will be prompted with the First Run Wizard.
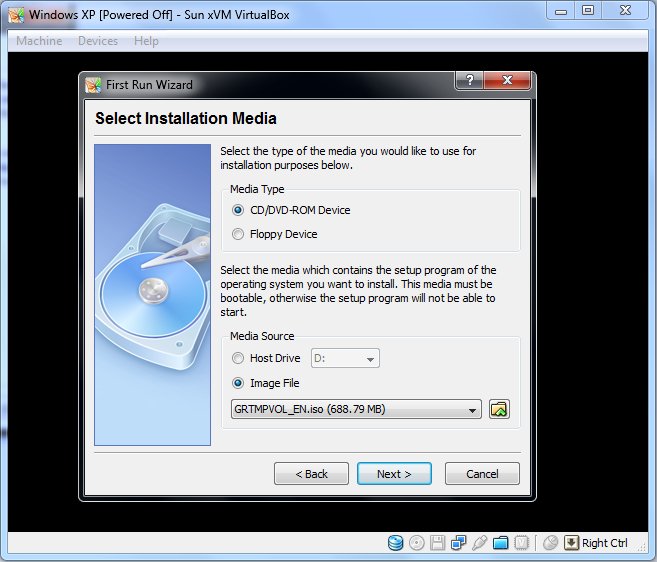
10 – Select either your physical CD/DVD device, if you have a WinXp CD/DVD inserted, or select your image file from a hard drive as I have done in this guide.
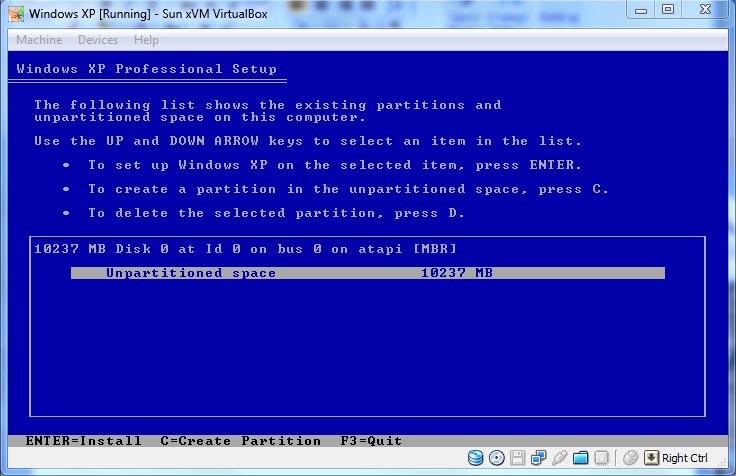
11 – You may wish to change settings, but the defaults should work fine. After selecting your image, virtalbox will boot up the CD/DVD. You will see the traditional Windows partition/installation screen. Select your preferences, and install.
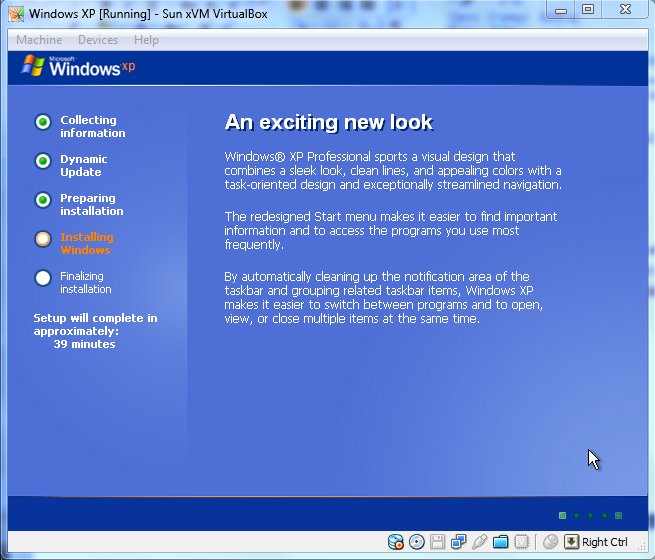
12 – After selecting your preferences, Windows XP will begin to install.
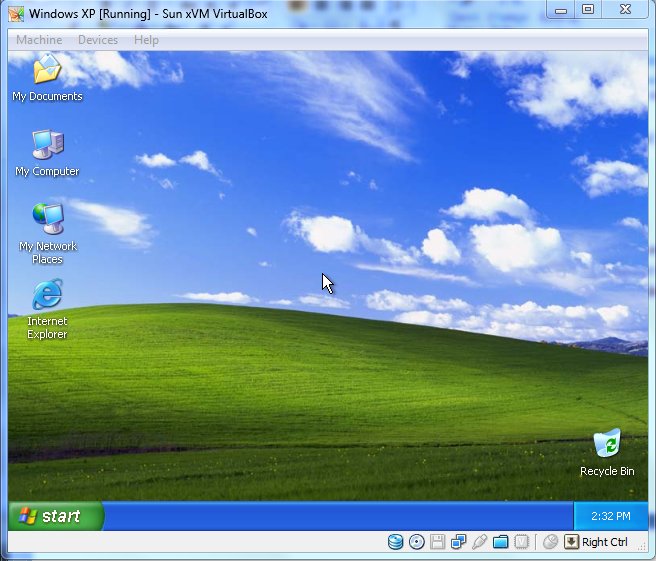
13 – After installation, you will be presented with a small desktop.
Now if you move your mouse into the new virtual machine window, you
won't be able to move the mouse out of the window.To move your cursor
out of the VirtualBox virtual machine, press
your right control key.
You may stop here and install updates,
and whatever else you may need to, or you can follow the next few steps
to enable a useful feature to adjust the size of the screen on the fly,
as well as enabling the ability to full-screen the Virtual Machine so
that it looks like it is your host operating system.
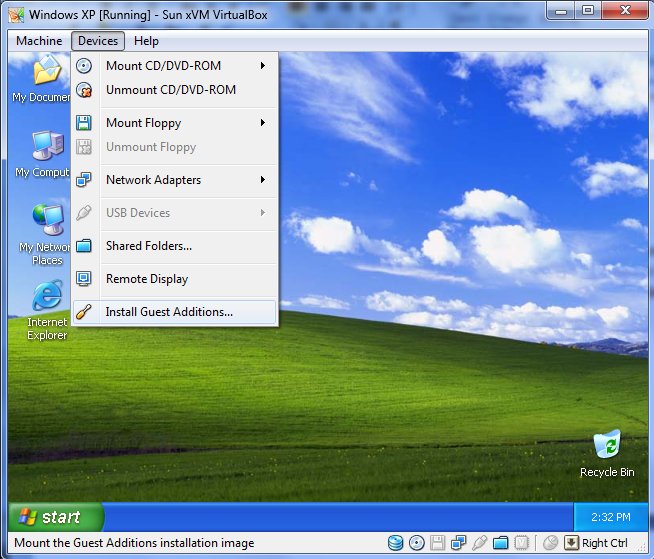
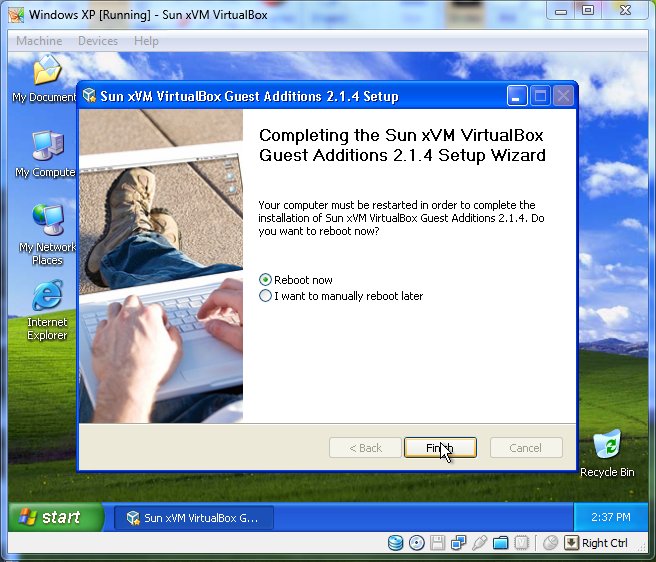
14 – Select the Devices tab at the top of the window. Scroll down to ‘Install Guest Additions’, and click.
15 – Follow through the set up if it is automatic, or go to My Computer,
and select the newly mounted CD drive + CD. Reboot the Virtual
Machine. You will now be able to move your cursor in and out of the
Virtual Machine without need for the right control key.
By adding the Guest Additions, you also have the ability to move to
Seamless and Full Screen modes. Seamless will appear is if you have two
task bars in Windows, or in general, a Windows XP task bar at the
bottom of your screen in other operating systems. Full Screen mode will
totally maximize your Virtual Machine window so that it has the same
dimensions of your current screen size. Ex – If your host screen
dimensions are set at 1440×900, the Virtual Machine will conform to that
size, removing any trace of your host operating system.
If you are planning on gaming using this set up, don’t expect much. Though VirtualBox is capable of emulating a graphics card, or partially using your host’s card, the process isn’t that efficient. Don’t expect much performance; this is generally for testing and experimentation purposes.
If you need to do testing, for example checking an .exe for viruses/adware that are immediate in effect, you can do this quite easily in the Virtual Machine. Create a Snapshot of the current working state, and you will be able to revert to that point at any time, without any changes have been made to your system, virtual or not. The ability to create Snapshots could also be useful if you decide to practice on a Virtual Machine before trying something on your host machine. You could want to practice with a partition editor, but without causing any harm to your physical machine, you can check the effects in your Virtual Machine, and revert to an old Snapshot if something goes wrong. The same would work for checking how well an upgrade process would work if you chose to upgrade from XP to Vista, using the upgrade utility.