Most often during work, we end up creating word documents. Whether it be project reports, new proposals or a draft of the cool new idea you just thought out. But more important than creating an idea is to make sure you get due credit for your work.
Having a watermark with your name or any other identity mark in your word documents can make sure you get due appreciation and credit during presentations and meetings. Not to mention if your document goes higher up in the hierarchy, it could really help you out a lot. It is actually very easy to add watermark in word documents. Let's see how -
1. Word 2007 and above.
From the ribbon menu, click on "Page Layout" and in the "Page Background" section select "Watermark".
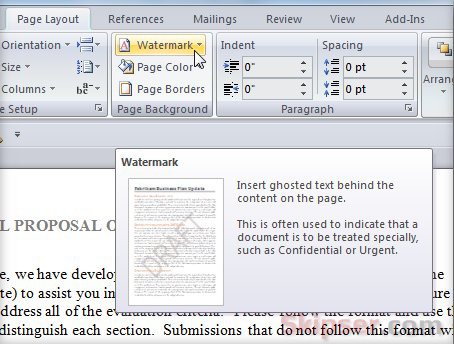
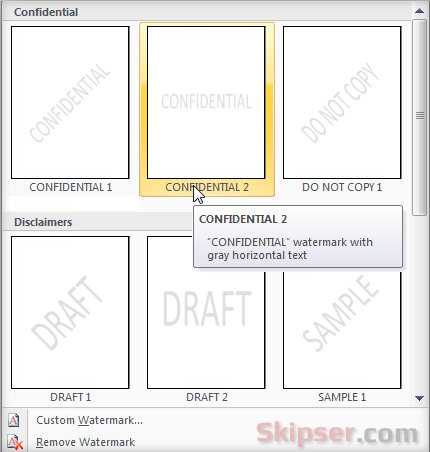
You can now choose from a list of included watermarks like "Confidential", "Do not Copy", "Draft" etc or choose to add your own custom watermark.
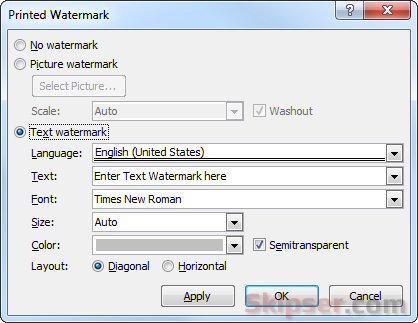
If you choose the "Custom watermark" option, you will get a "Printed Watermark" dialog box where you can select your own custom text or image as watermark. You can also choose the font, color, size and layout as well.
Click "Apply" and the watermark will get added to your word document.
2. Word 2002 and 2003.
For word 2002 & 2003, go to "Format -> Background -> Printed Watermark". This will bring up the "Printed Watermark" dialog box where you can choose your own custom text or image as watermark. You can also choose the font, color, size and layout as well.
Also see: How to watermark images with Gimp.